In order to connect your WooCommerce website to Avetti Shop Connect we will need the following information :
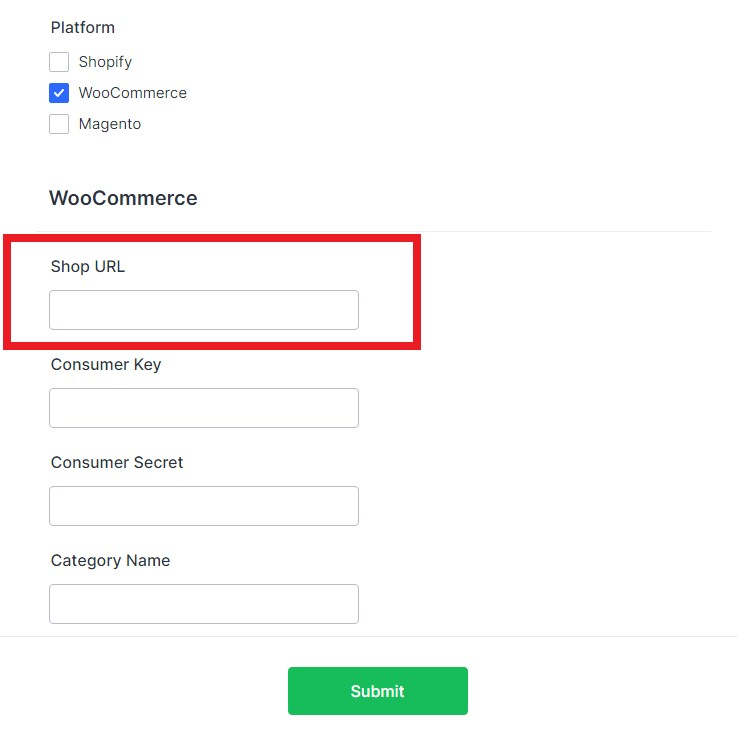
Shop URL #
In this section just copy and paste the URL to your WooCommerce Website. For Example https://www.yourstore.com/. Copy and Paste Shop URL into the Shop URL field
Consumer Key and Consumer Secret #
Step 1: To find your WooCommerce Consumer Key and Consumer Secret, you need access to your WordPress admin panel, as WooCommerce is a WordPress plugin. Open your preferred web browser and navigate to the WordPress admin login page (e.g., https://www.yourstore.com/wp-admin). Enter your login credentials (username and password) and click “Log In” to access the admin interface.
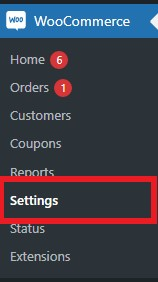
Step 2: Once you’re logged in to the WordPress admin panel, locate and click on the “WooCommerce” menu option in the left-hand sidebar. From the dropdown menu, select “Settings” to access the WooCommerce settings page.
Step 3: Within the WooCommerce settings page, you will see several tabs at the top. Click on the “Advanced” tab to proceed to the advanced settings.

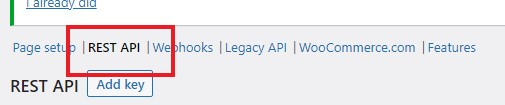
Step 4: On the advanced settings page, you will find several subtabs. Click on the “REST API” subtab to access the REST API settings.
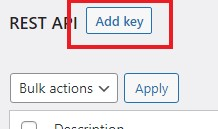
Step 5: To find your WooCommerce Consumer Key and Consumer Secret, you need to create a new API key.
a. Click on the “Add Key” button to create a new API key.
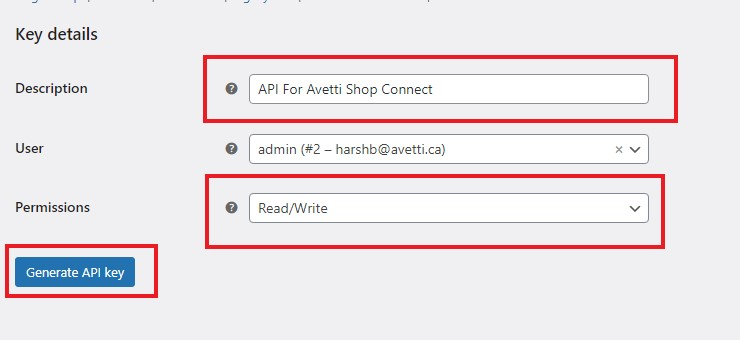
b. Enter a descriptive name for your API key in the “Description” field.
c. From the “User” dropdown, select the user associated with the API key. If no user is available, create a new user with appropriate permissions.
d. Under “Permissions,” select Read/Write
e. Click on the “Generate API Key” button to create the key.
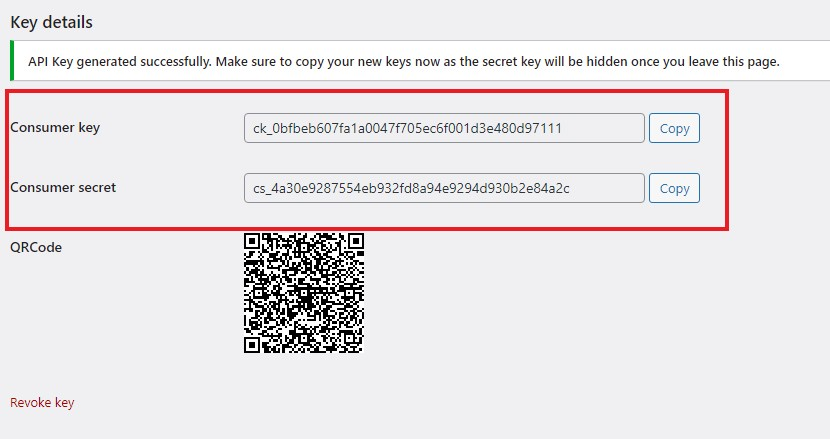
Step 6: Copy and Paste your Consumer Key and Consumer Secret into the Consumer Key and Consumer Secret fields.
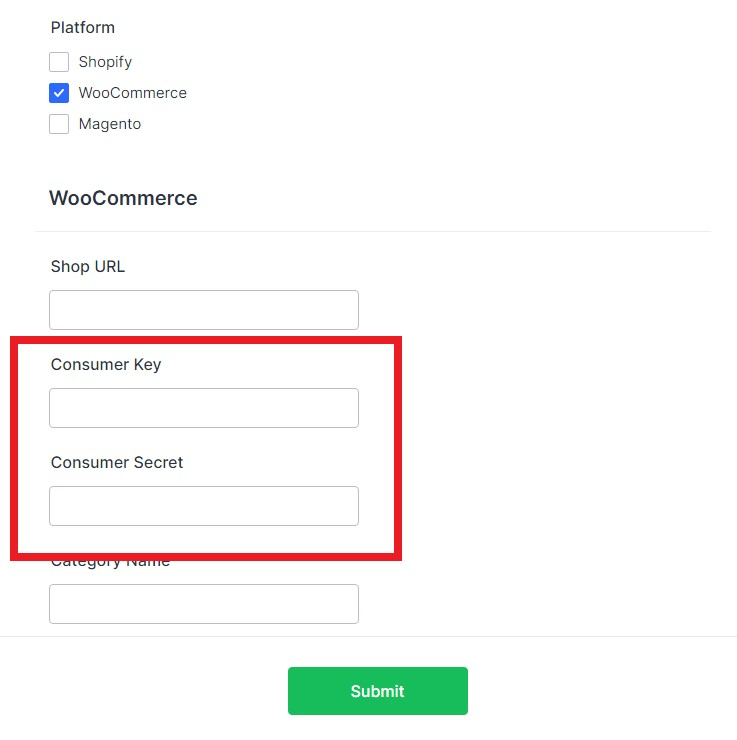
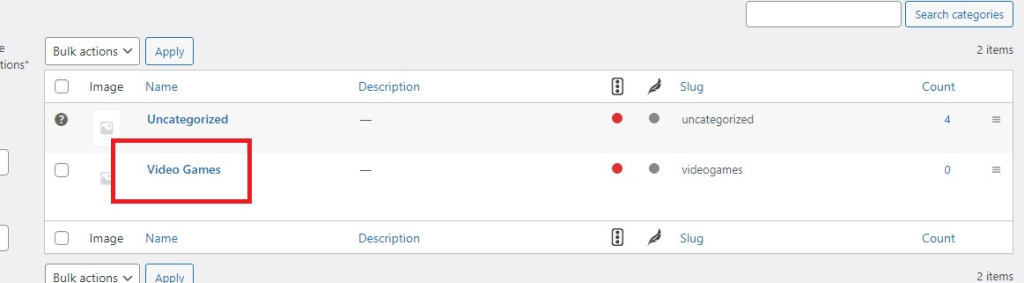
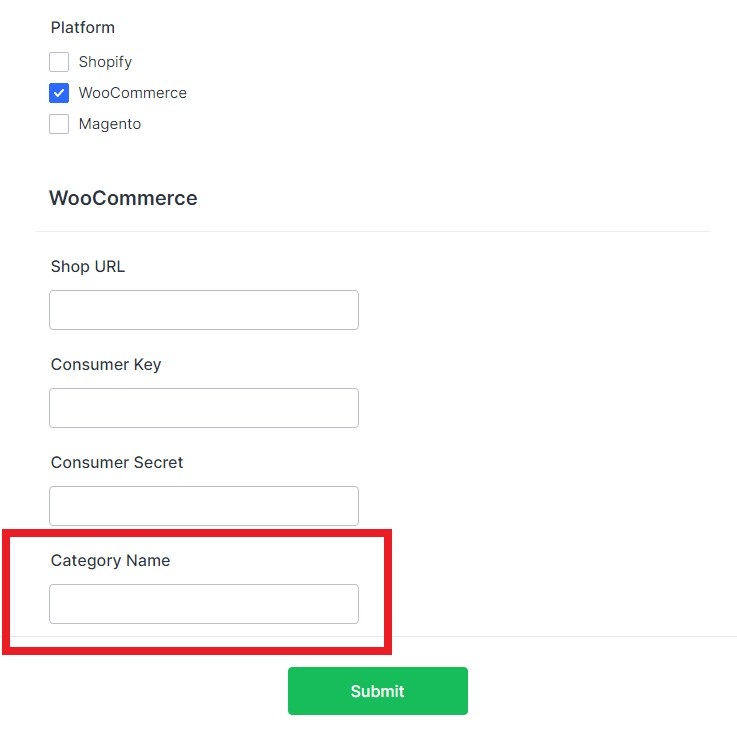
Category Name #
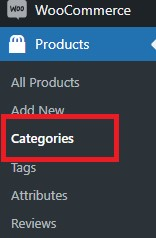
Step 1: Locate and click on the “Products” menu option in the left-hand sidebar. From the dropdown menu, select “Categories” to access the WooCommerce categories.
Step 2: On the WooCommerce Categories page, you will see the create a new category section. Here you can create the category you wish to use for the Shop Connect Feature.
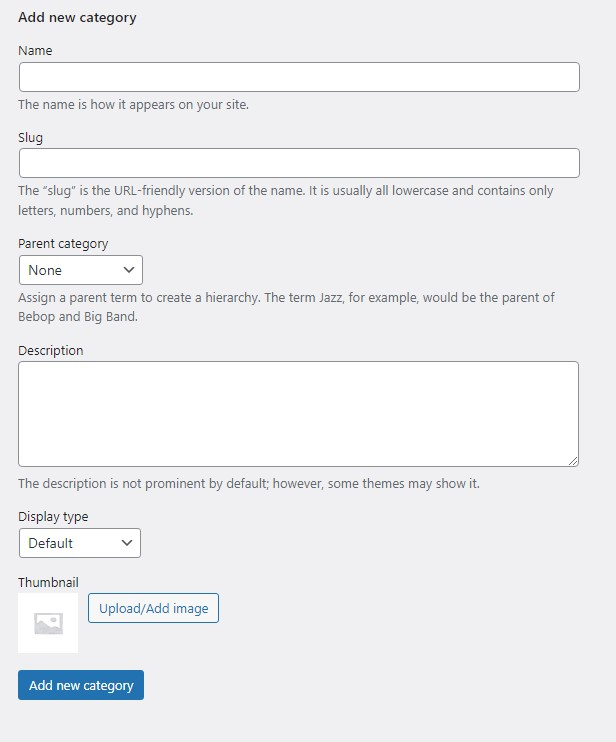
Step 3: Your newly created Category will show in the Category list located beside the Create a Category section. Copy and Paste the Category Name into the Category Name field.