
Overview #
This document provides an administrator an overview on Templates, process to create New Templates and edit them, Template Statuses and about enabling Template Repository.
A Template is a tool for enforcing a standard layout and look and feel across multiple pages or within content regions. When a template is changed, any pages or regions that are based on that template are automatically changed as well. Each template can contain a backup allowing the template to be restored to a previous backup in case the changes made to the template aren’t correct or cause problems.
Manage Templates #
The Manage Templates page provides a list of all templates on the site, with the option to edit, view, or delete each template, as well as the option to create a new template, either from scratch, or by copying an existing one.
- Click on Manage Templates under Templates.
- Click Manage Templates on the admin page’s side navigation.

| Heading | Description |
|---|---|
| Template Name | The name of the template |
| Template Filename | The filename of the template |
| Size | What the size the template is. Used as reference. |
| Last Updated By | When the template was last updated, by default the templates are sorted by this column. The most recently updated displaying on top. |
| Edit Template | Allows for the template to be modified. For more information go to the edit section of this document. |
| Template Repository | This allows the repository of the template to be viewed. For more information go to the repository section of this page. |
| Status | The status the template is in, this is for organizational purposes to show if the template is ready be used to is it new. |
Table 1 – Description of Headings under Manage Templates page
New Template #
Create a Template From Scratch #
- Click on the New button at the bottom of the Manage Templates page, which will open up the options to choose the name, file name, size, skin, and group for the template.
- Once the template is created, it can be edited.
- The Size field indicates the size of section of the page that will be occupied by the content in the template. It can be specified, but it is generally recommended to type ‘Any Size’ in the field to avoid issues when using the Content Areas feature. For details on Content Areas, please refer to the Content Areas section of the Categories guide under the Catalog tab.
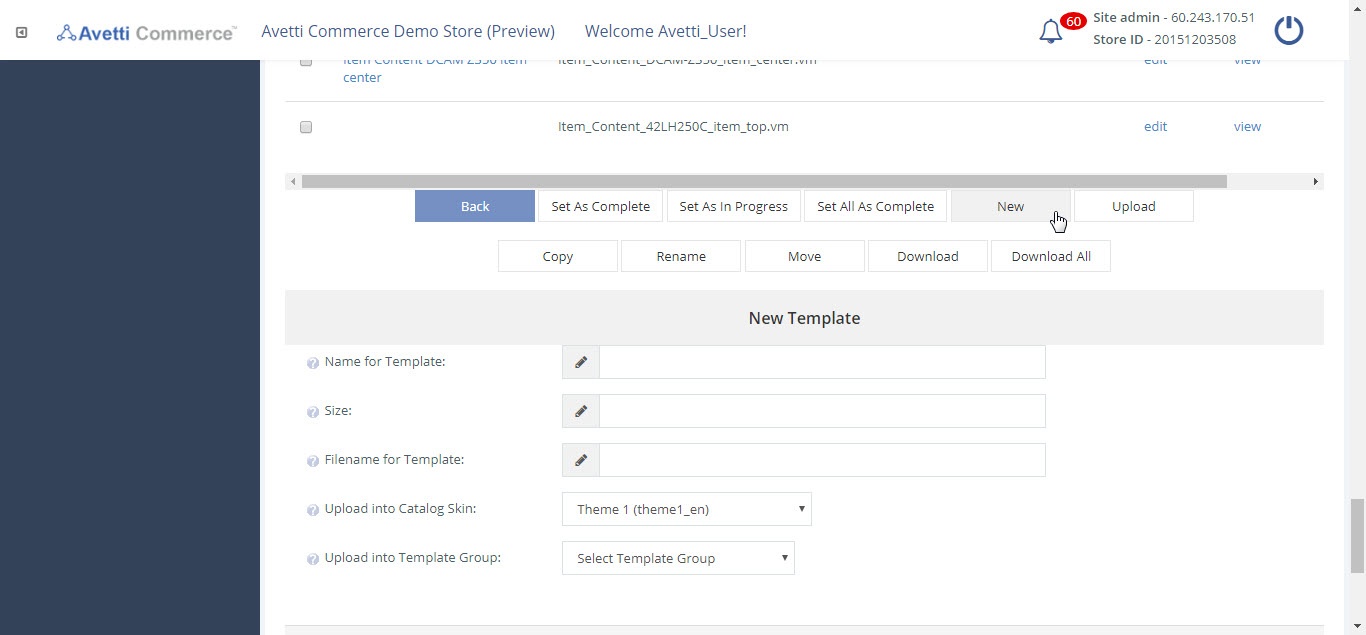
| Fieldx | Description |
|---|---|
| Name for Template | Name of the template being created. |
| Size | The size the template will be. Used for reference. |
| Filename for Template | The file name of template, this will contain the name and the file type of the template. |
| Upload into Catalog Skin | The catalog skin the template is based off of. |
| Upload into Template Group | The group the template belongs to. |
Upload an Existing Template #
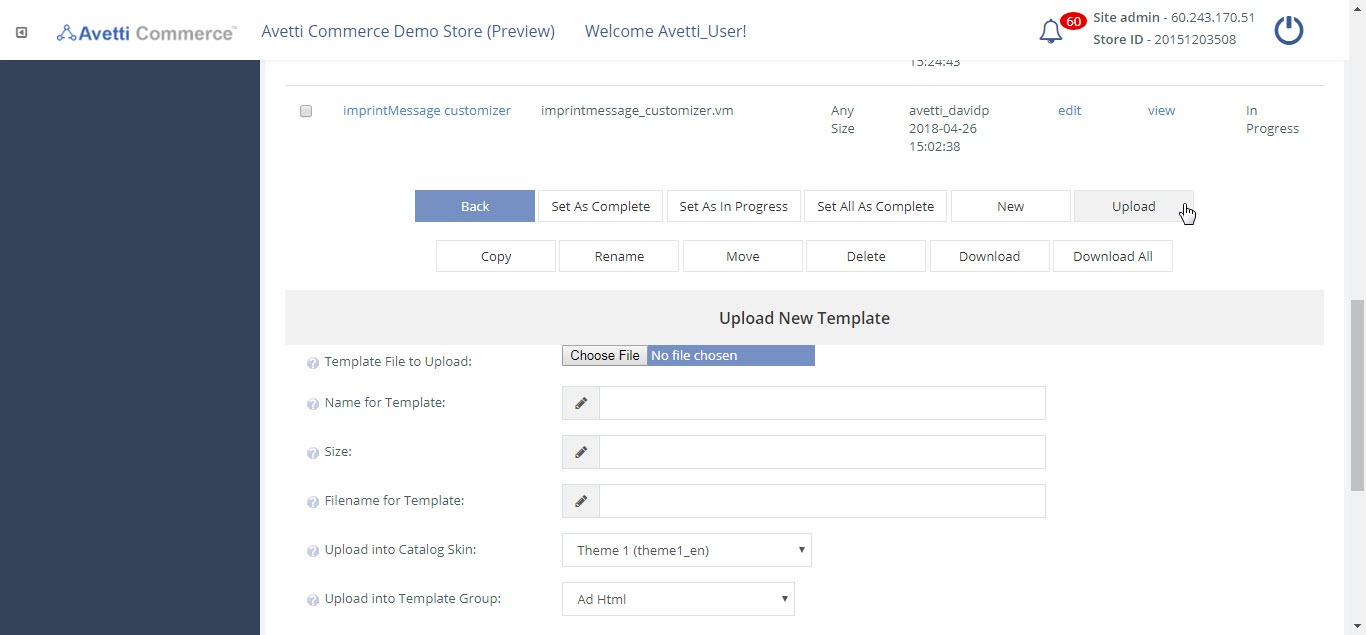
The Upload option allows to upload a created locally template file to be used instead of manually creating a new template.
- Click on the Upload button.
- Enter the details which are are the same as for creating a new template except for the Template File to Upload field.
- Click on Choose File and select the a template to upload.
- Click Continue to save.
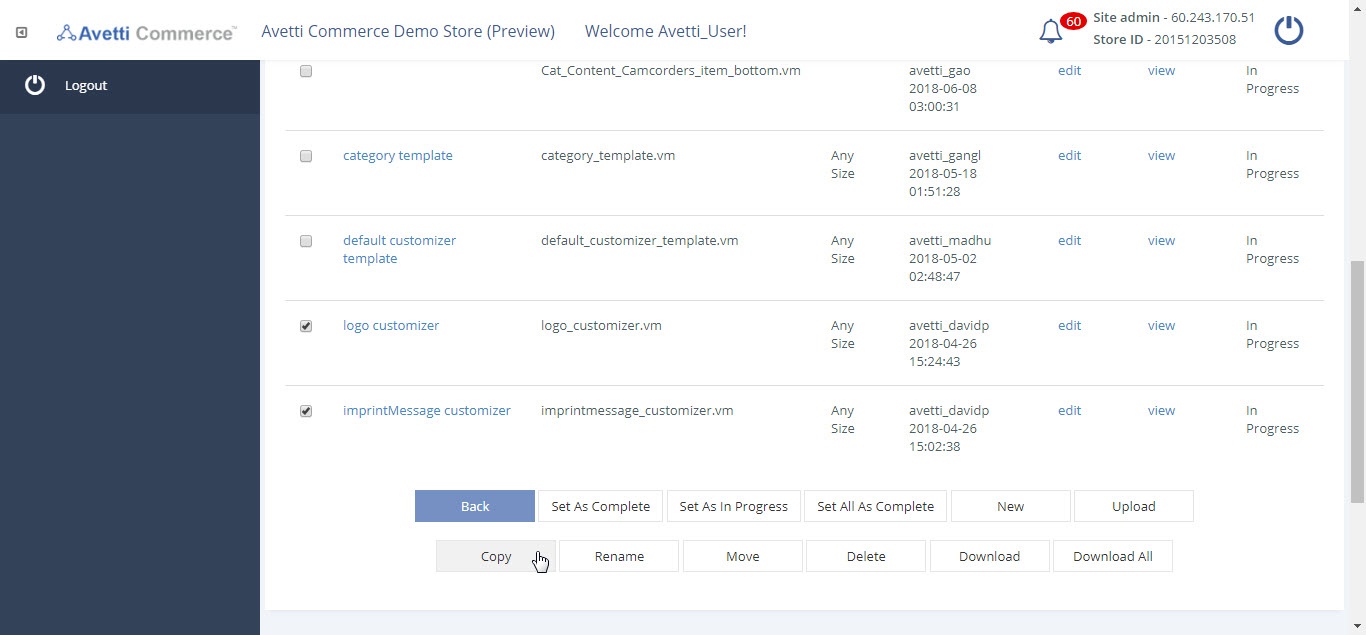
Copy an Existing Template #
- Select the template you wish to copy by marking the checkbox to the left of the Template Name in the templates list.
- Click on the Copy button and the Copy Template form will show pre-filled with the information of the selected template.
- In order to create a copy, before clicking Continue to finish the process, change the Name for Template and Filename for Template fields as these values must be unique.
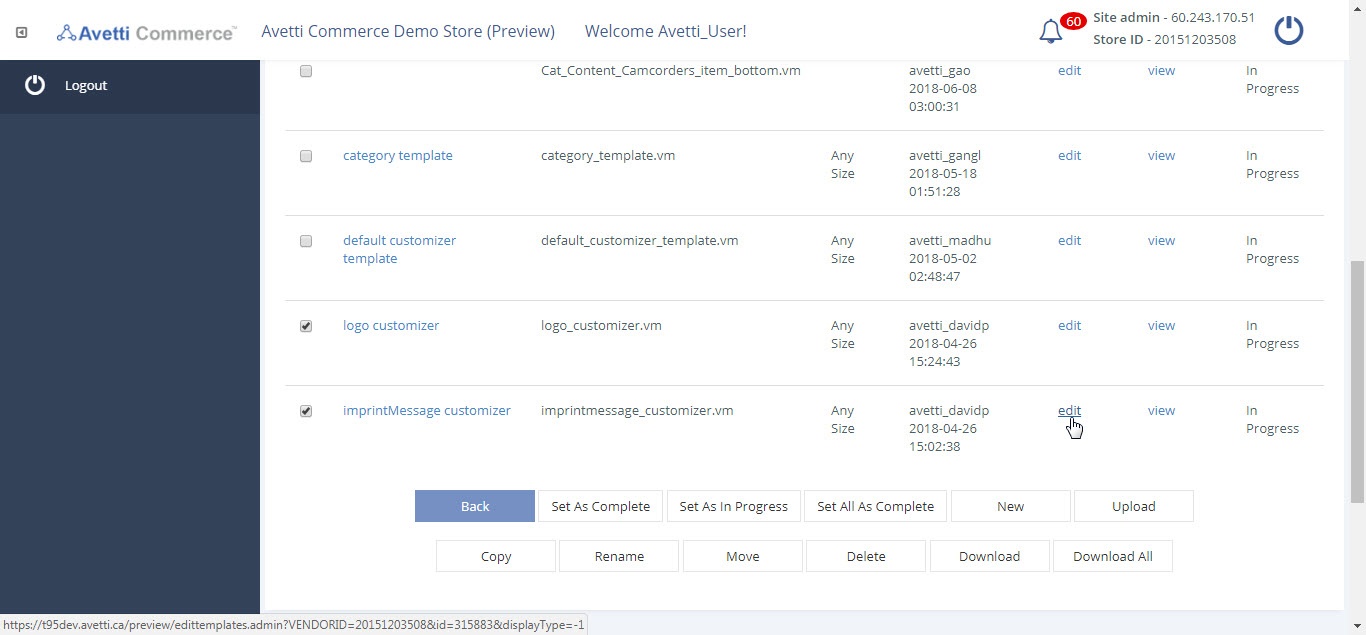
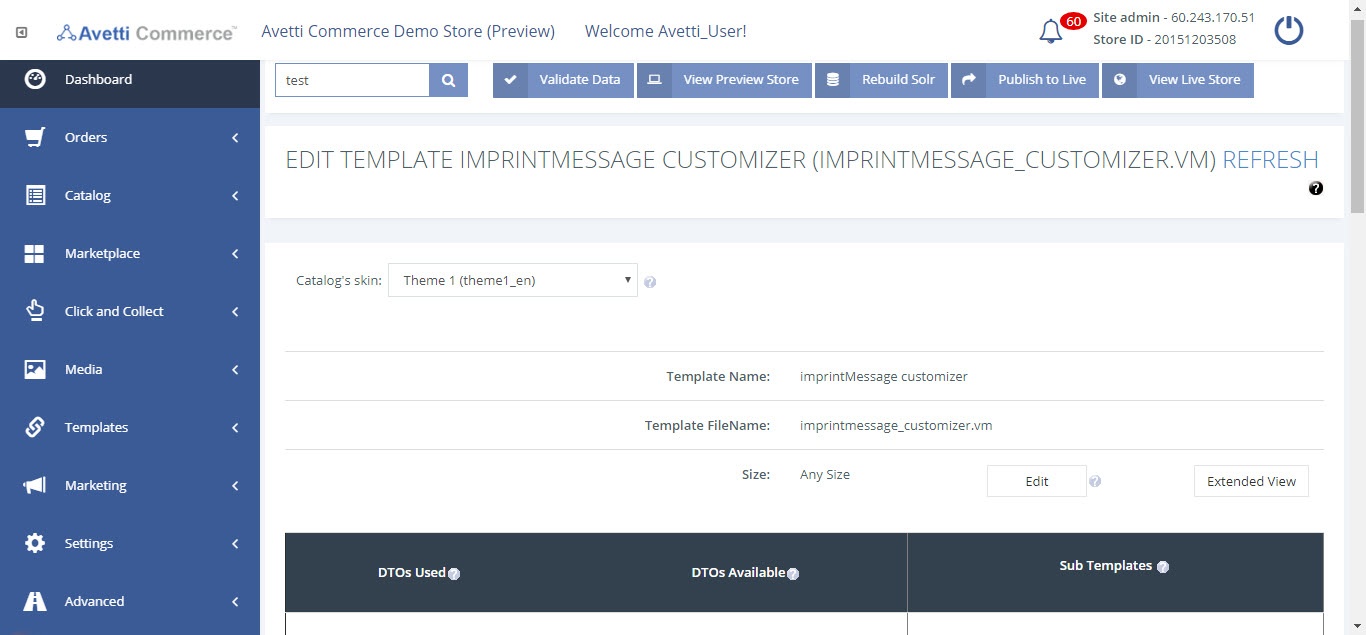
Editing a Template #
Each template will normally contain HTML and Velocity code, but can contain Javascript code and CSS as well. We will not discuss details regarding any programming or markup languages but it is very important to keep in mind that modifying templates require programming knowledge as a single deleted line, for example, could result in completely breaking the code for a particular template.
To make changes, simply modify the code within the text editor area and click Update or Press Ctrl + S (Cmd + S on Mac).
Searching a Template #
- Click the +Search link near the top of Manage Templates.

| Field | Description |
|---|---|
| Skins | Search the skins attached to each template. |
| Groups | Search by the template groups. |
| Template Name | Search by a specific name of the template. |
| Template Filename | Search by a specific filename of the template. |
| Contain Text | Search by the content in the template. |
| Sort By | How the templates will be sorted on the page. |
Template Statuses #
On the Manage Templates page, the templates list contains a Status column. This indicates if the changes that have been made to a template are still being made, or if the changes are complete.
When a change is made to a template, the status is automatically changed to In Progress. This denotes that the template is in the process of being edited, and also prevents the updated template from being published to the live store, in case the changes are not yet complete.
To change the status to Complete
- Check the checkbox in the row that corresponds to the template selected to change the status of then template. Multiple templates can be checked at once to have their status changed.
- Click Set As Complete button.
- Click Set All As Complete button to set all templates to complete.
It is recommended to thoroughly test all templates that have been changed on the demo store before setting as Complete to ensure incomplete templates are not accidentally published to the live store.
Template Repository #
The template repository is a convenient tool that allows the user to easily revert back to the previous version of a template, as well as save new versions of it.
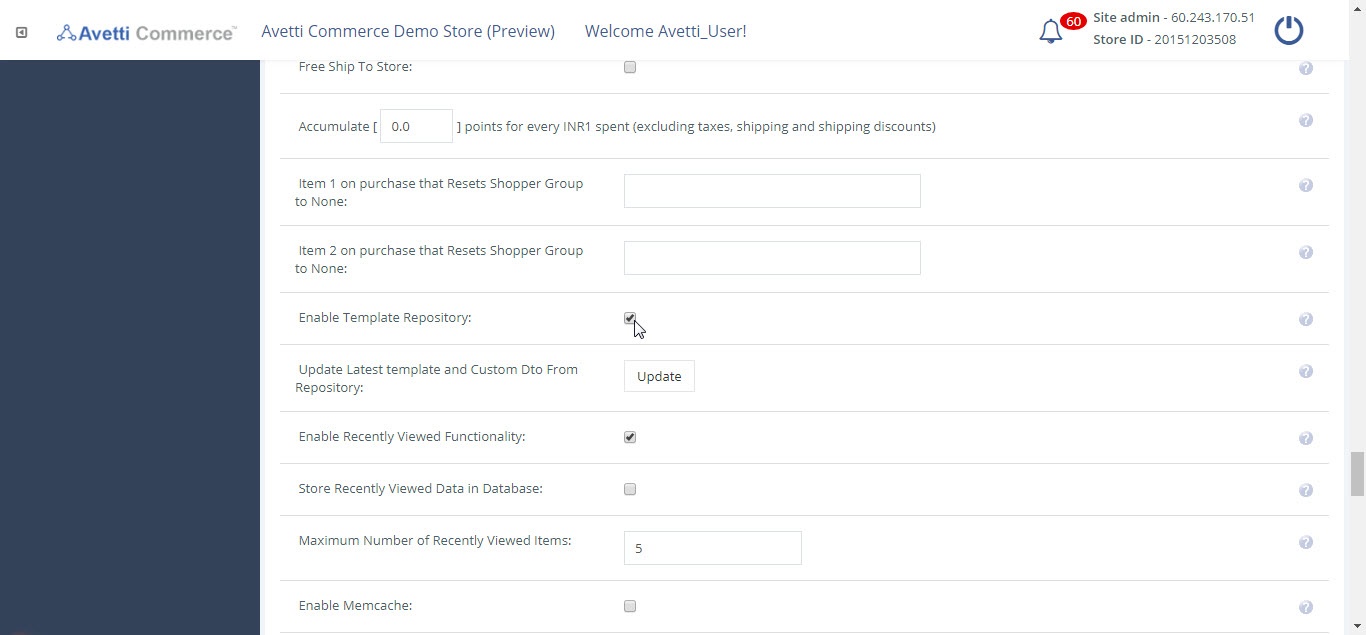
Enabling the Repository #
- Click Advanced.
- Click Site Admin Preferences.
- Check the box next to Enable Template Repository.
- Click Ok to save the changes.
Backup #
Automatic backups are run daily, late in the day. At that time, any changes that have been made will be saved automatically.
In addition, it is recommended to make a manual backup before making any changes to a template to ensure that the most up to date version has been saved.
Follow the steps given in commit to undo the changes.
Commit #
Once changes to a template are complete (or to do a manual backup prior to making changes), the changes must be committed to the repository, to save it as a new version.
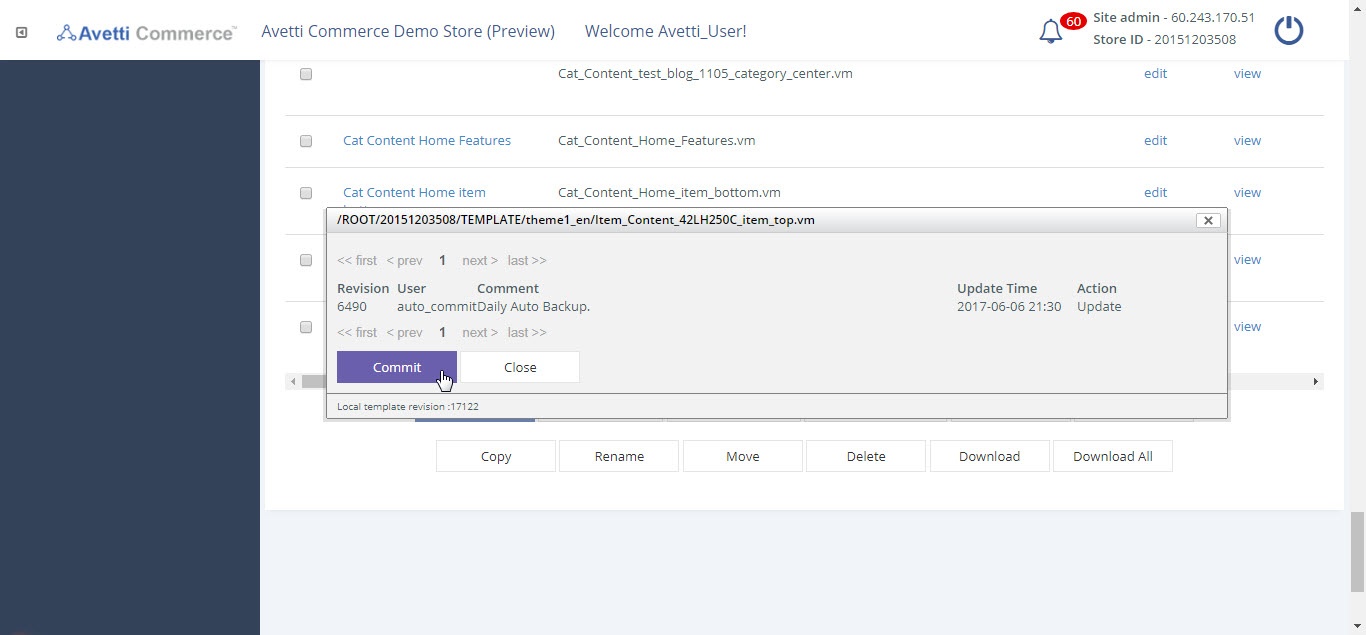
- Click Manage Templates.
- Click on the View link in the Template Repository column. The window that pops up will display a list of the changes that have been committed.
- Click on the Commit button at the bottom to commit the new changes.
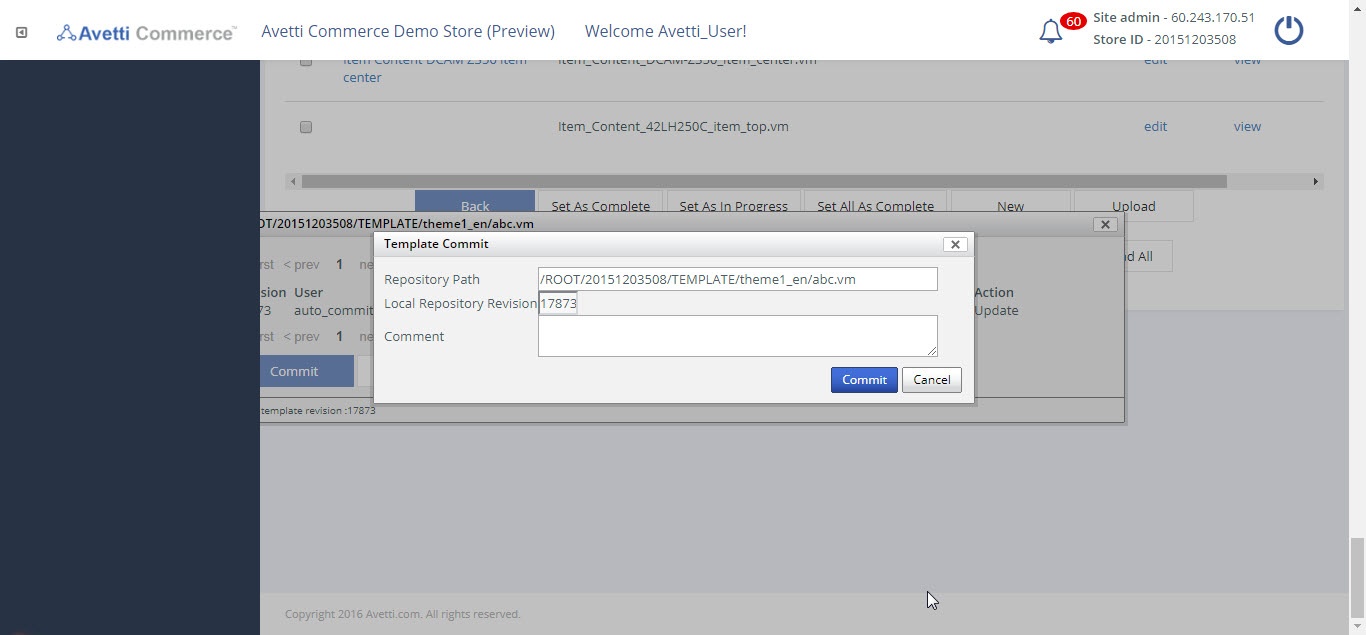
- After clicking Commit, a new window will display the path in which the change will be saved to, and will provide a box for entering in a comment. A comment is recommended, as it will advise other users and serve as a note on the changes made.
- Click the Commit button to finalize the changes.
Restore #
In the event that a change to a template needs to be undone, the Template Repository also offers the option to restore a previous version of the template.
- Click on the View link in the Template Repository column. The window that pops up will display a list of the changes that have been previously committed.
- Next to each older version of the template, there will be a link titled Update. Click on the Update link.
- Click on the Check Out button. Once the checkout is complete, the template will be reverted to the previous state.
Note : There is no option to view a template before restoring it, so it is important to leave comments for each version, to help identify which versions is which, in the event that a restoration of a previous version is necessary.