Also available in these formats:
Overview #
This document has been designed to educate on the Payment Gateway options available with Avetti Commerce.
Choose from a number of payment processors included with Avetti Commerce or even create additional payment options via Non Credit Card Payment methods – such as Pay by Purchase Order, Pay by Check, Pay at Store, etc..
Payment Gateways #
A payment gateway is a service that authorizes payments for e-businesses and online retailers. It is the equivalent of a physical point of sale terminal located in most retail outlets.
Avetti Commerce supports a number of payment processors such as PCI Secure Order Form Credit Card Processor, Remote Payment Gateway Service, Paypal, Google Checkout and much more. Alternatively, it’s possible to set up non credit card payment options such as pay by cheque, pay by account, pay at store and so forth.
To configure payment gateways,
- Click Settings
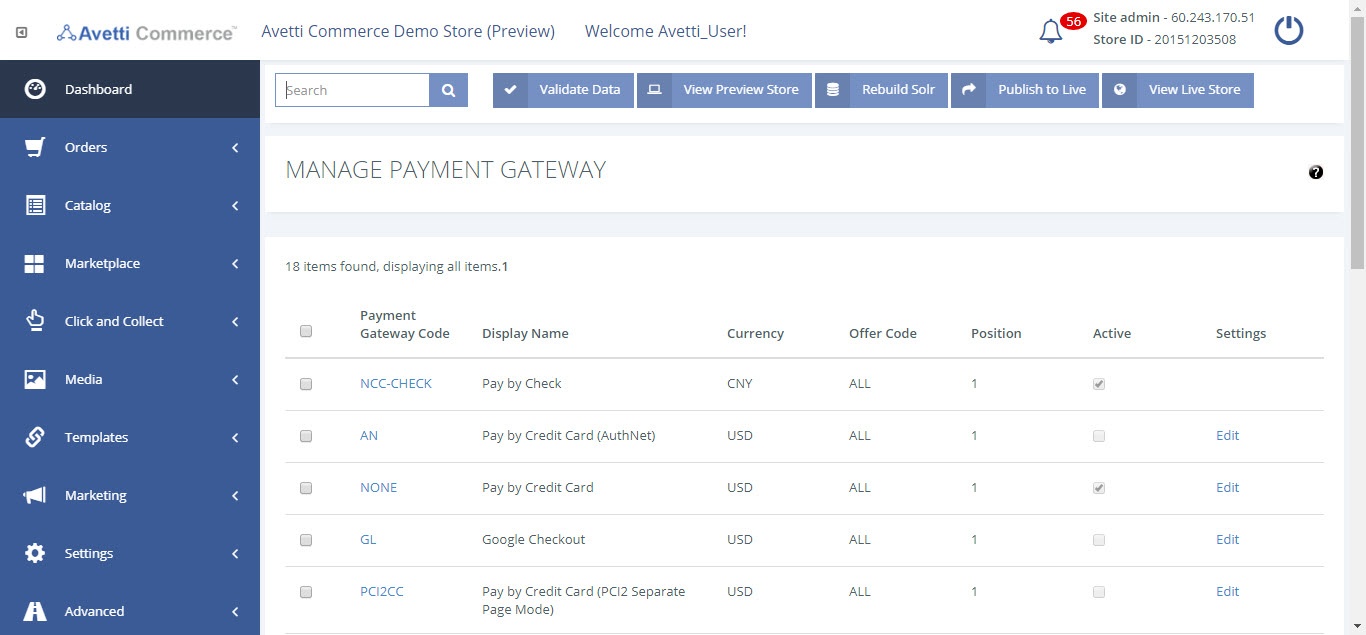
- Click Payment Gateways from the admin pages to see the Manage Payment Gateway page.
- Click the Payment gateway code to edit any of the existing gateways. Some gateways have additional settings that can be configured under edit section.
The active checkbox next to each gateway indicates that the gateway is active and will be displayed as per their configuration. The position indicates the position of the particular gateway among others on the checkout page. Other details such as currency or offer code applicable for this payment gateway are also displayed on the table.
Adding a new Payment Gateway #
To add a new payment gateway,
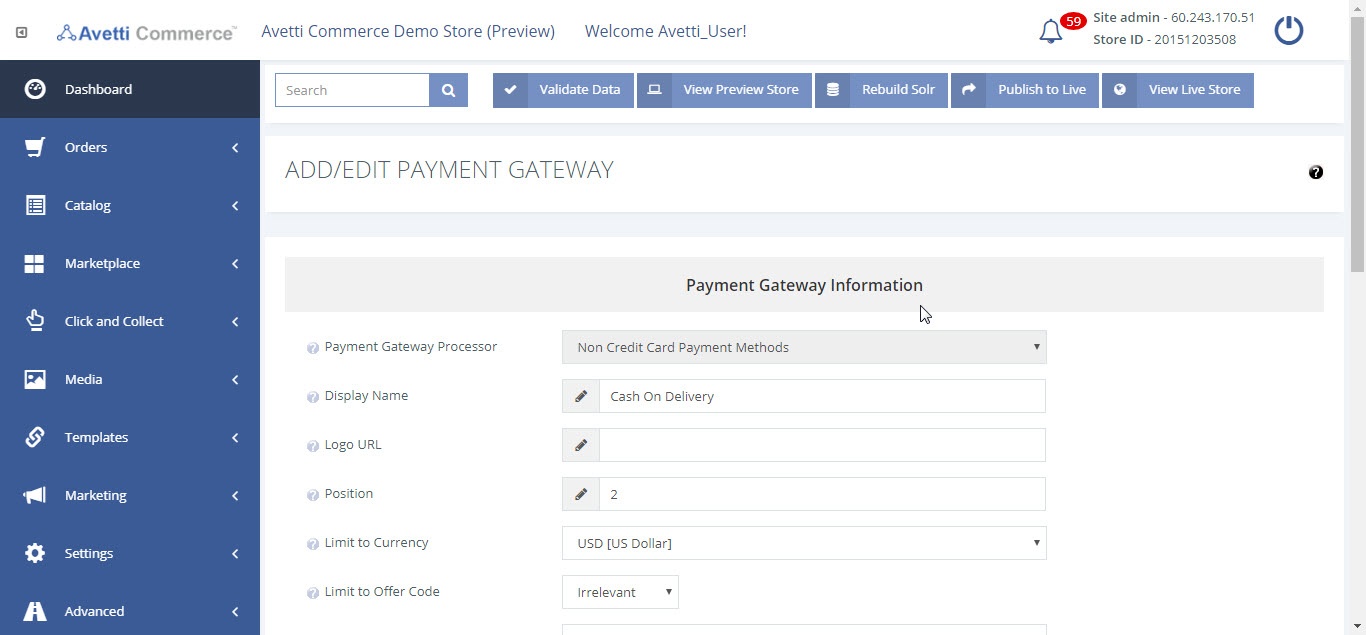
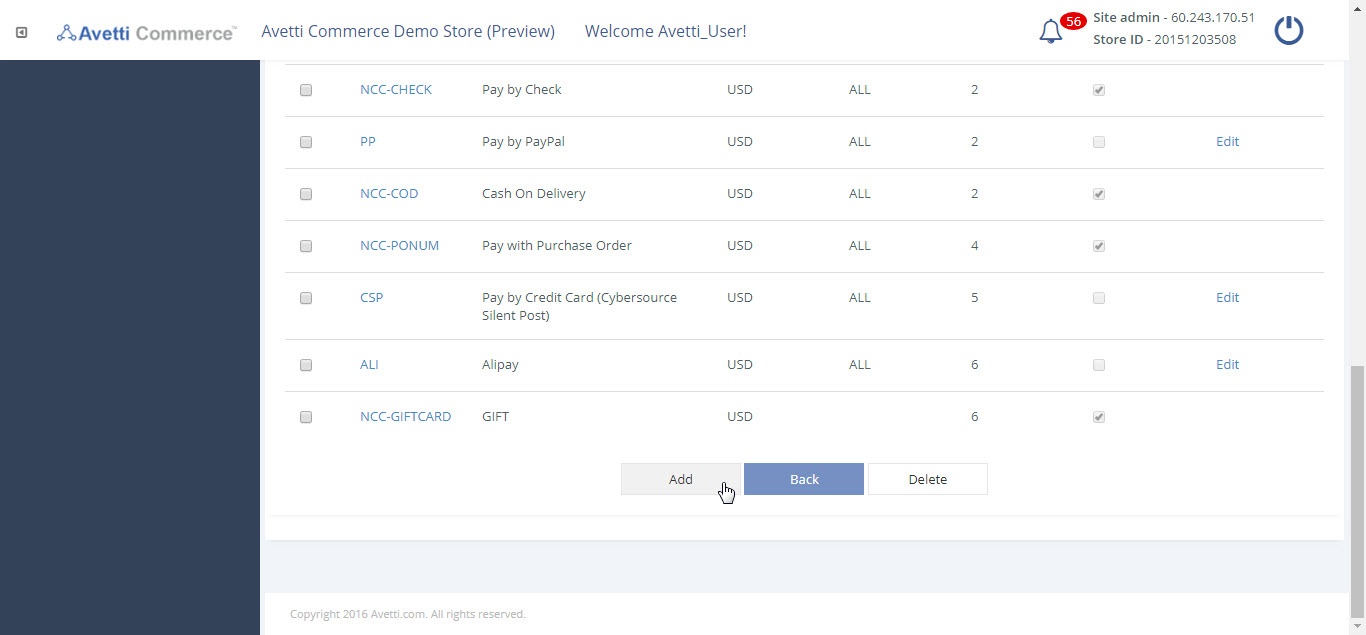
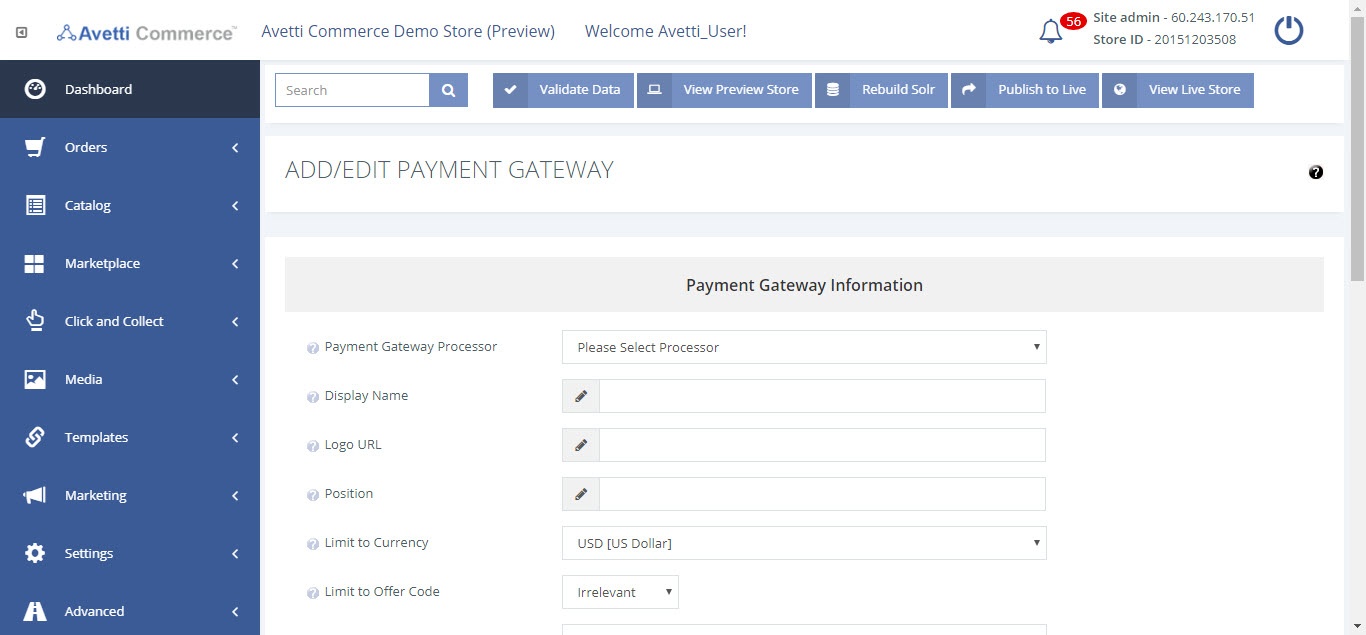
- Click add button on the Manage Payment Gateway page. This will redirect to the Add / Edit Payment Gateway page.
- Enter the details. (Refer table 2)
- Click Update and Ok to add the new payment gateway.
- The new payment gateway created will appear along with other gateways on the Manage Payment Gateway page.
- Click Payment gateway code to change any information entered apart from the payment processor.
| Fields | Description |
|---|---|
| Payment gateway processor | Select the payment gateway processor by using the drop down list. This will be discussed in details on the next section. |
| Display name | Set the display name for this payment gateway that will be shown to the customer on the checkout page. |
| Logo URL | Enter the URL for the payment gateway logo to be displayed on the checkout page. |
| Position | Specify the position of this payment gateway among other gateways on the check out page. This is the order in which they are displayed. |
| Currency | Set the currency in which the transaction will be processed. |
| Offer code | Specifies if the customer needs to have an offer code to be able to use this gateway. If set to present, specify the unique offer code on the adjacent column. An offer code is a code that associates all shoppers that have that code active to a set of payment gateways, shipping providers and prices.Offer codes can be set 3 ways:By entering the code in the basket in the promotion code entry field.For a particular customer in the OFFERCODE customer property.For all shoppers of a store in the OFFERCODE store property. |
| Limit to Geolocation Country | The country the payment is available in. |
| Limit to Customers of Type | Use this field to specify what kind of customers will get to see this payment gateway.Radio buttons can be configured on the basket page that lets a customer choose if this is a business order or a personal one.Invoiceable customers are customers to whom we offer credit. Typically would associate a ‘Pay on Account’ payment type to an invoiceable customer and ‘Pay by Credit Card’ to non-invoiceable customers.To set a customer to invoiceable, go to People | Customers page, click on the customer login name and select the check box that says invoiceable. |
| Limitations by Postal Code, Volume and Order Total | Allows the ability to limit the payment gateway to a specfic postal code, order amount, price and value using a spreadsheet.Postal Code: Limits the gateway to a specific postal code.From Volume: The minimum volume (based on width x height x length) of products.To Volume: The maximum volume (based on width x height x length) of products.Min Order: The min price of the order for that payment to be available.Max Order: The max price of the order for that payment to be available.Value: Order subtotal + taxes + shipping. It is the total the shopper must pay.Note: In order to use this spreadsheet, the payment must be created and then modified. |
| Active | Check the box to make this payment gateway active. |
| Additional data field | Use this option to specify if the customer needs to provide additional information with his selected payment method. For example, Pay by Purchase Order may require the shopper enter a Purchase Order #.Select one of the 3 options to specify if additional details are mandatory, optional or not required. If Required, use the Prompt text field to prompt the customer for specific information. |
| Display Type | Limit to user, allows only users the ability to use this payment. Limit to Admin allows only admins to use this payment gateway. Displays always allows both users and admins to use this payment gateway. |
Payment Processors #
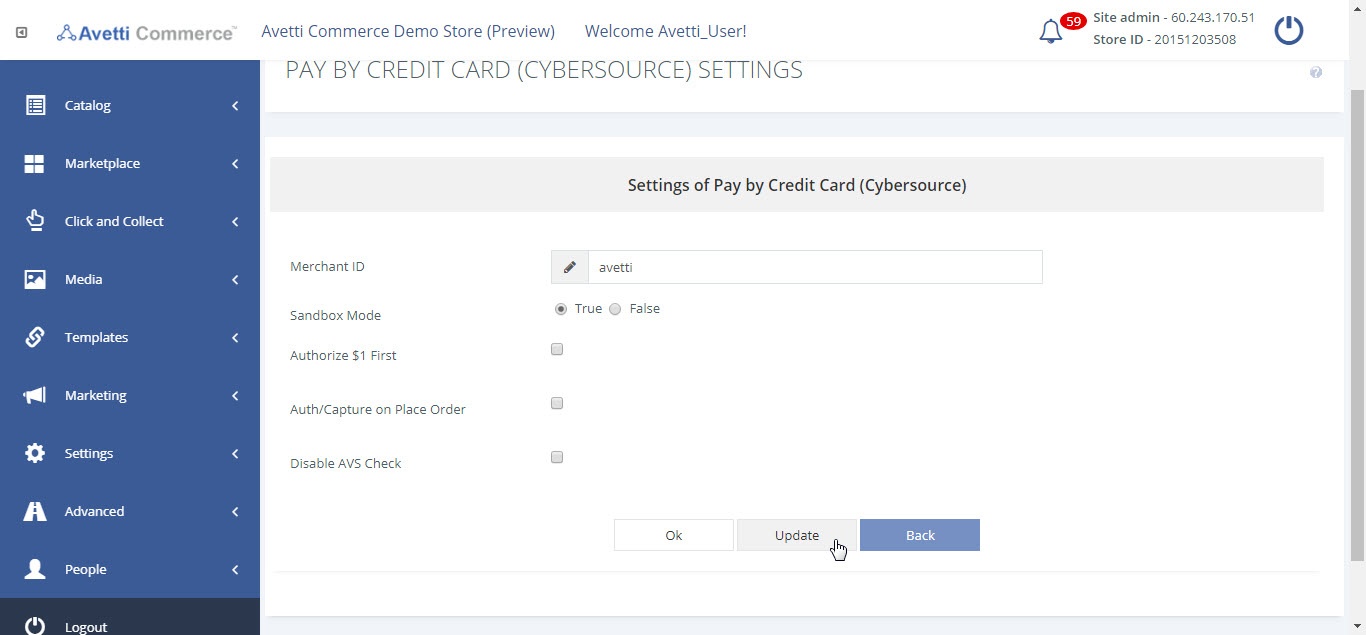
Cybersource #
To set up this processor,
- Select the processor from the payment processor drop down list on Add / Edit Payment Gateway page
- Once the payment gateway has been created, click edit link under settings on the Manage Payment Gateway page.
- Enter the details (Refer table 3).
- Click on save to save the changes.
| Fields | Description |
|---|---|
| Merchant ID | The ID of the account connected with the payment gateway. |
| Sandbox Mode | Allows sandbox credit cards to be used for testing. |
| Authorize $1 First | This is pre-authorization. With pre-authorization enabled, CyberSource processes an authorization request for $1 and an authorization reversal immediately afterward.The consumer will not be charged this dollar, it will not be submitted in a settlement request, so the merchant cannot refund the dollar. The $1 auth will drop off of the cardholder’s account within 3-7 days, sometimes up to 30 days if the card issuer does not process the authorization reversal request. |
| Auth / Capture on Place Order | If checked, authorizes and captures immediately (when order is placed). If unchecked, only authorizes on place order. Capture happens when items are set to shipped. |
| Disable AVS Check | Check the billing address of the user making the purchase and compare it to the credit card address of the user saved in the company. |
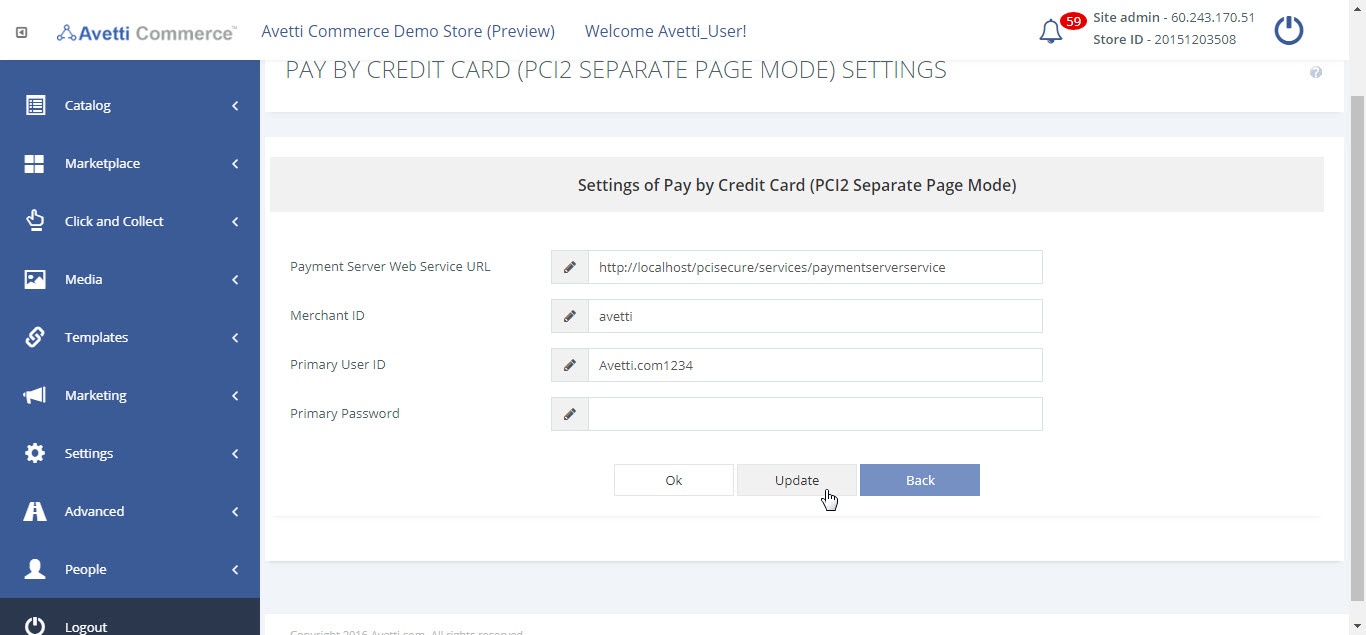
PCI Secure Order Form Credit Card Processor #
This is a very secure payment processor that follows strict security standards to ensure that credit card information sent during a transaction remains secure.
To set up this processor,
- Select it from the payment processor drop down list on Add/Edit Payment Gateway page.
- Once the payment gateway has been created, click the edit link under settings on the Manage Payment Gateway page.
- Enter the details (Refer table 4).
- Click on save to save the changes.
| Field | Description |
|---|---|
| Payment Server Web Services URL | The URL of the service being used. |
| Merchant ID | The name of the company using this service. |
| Primary User ID | The account ID of the account created to use this service. |
| Primary Password | The password of the account created to use this service. |
Paypal #
Paypal is a fast and safe solution to online money transfer. Avetti supports Paypal Standard as well as Paypal Payflow. If a Paypal account is available, set up a Paypal checkout payment gateway.
- Select Paypal Checkout from the drop down menu for payment processor.
- Once the payment gateway has been created, click on the edit link under settings on the Manage Payment Gateway page.
- On the PayPal account, get API information from PayPal developer under My Apps & Credentials. Click on the Create App button under Rest API apps.
- You will be redirected to a new page. Create the API with a name and connect it with a developer account. Once finished, click on the Create App button to process the API.
- Add the IPN. Instant Payment Notification (IPN) is a Paypal service which will automatically notify of events related to PayPal transactions. Go to Webhooks and add www.yourdomain/notify.html?vid=yourvendorid.
- Use the following credit card details to make test orders:
- CC number: 4111 1111 1111 1111
- Expiry: Any future expiration date

Similarly, if Paypal Payflow is requested,
- Select that option from the drop-down menu for payment processor.
- Click edit on the Manage Payment Gateway page, you will see a page similar to that for Paypal standard.
- Paypal Payflow has the sandbox mode too and use the same CC details as earlier.
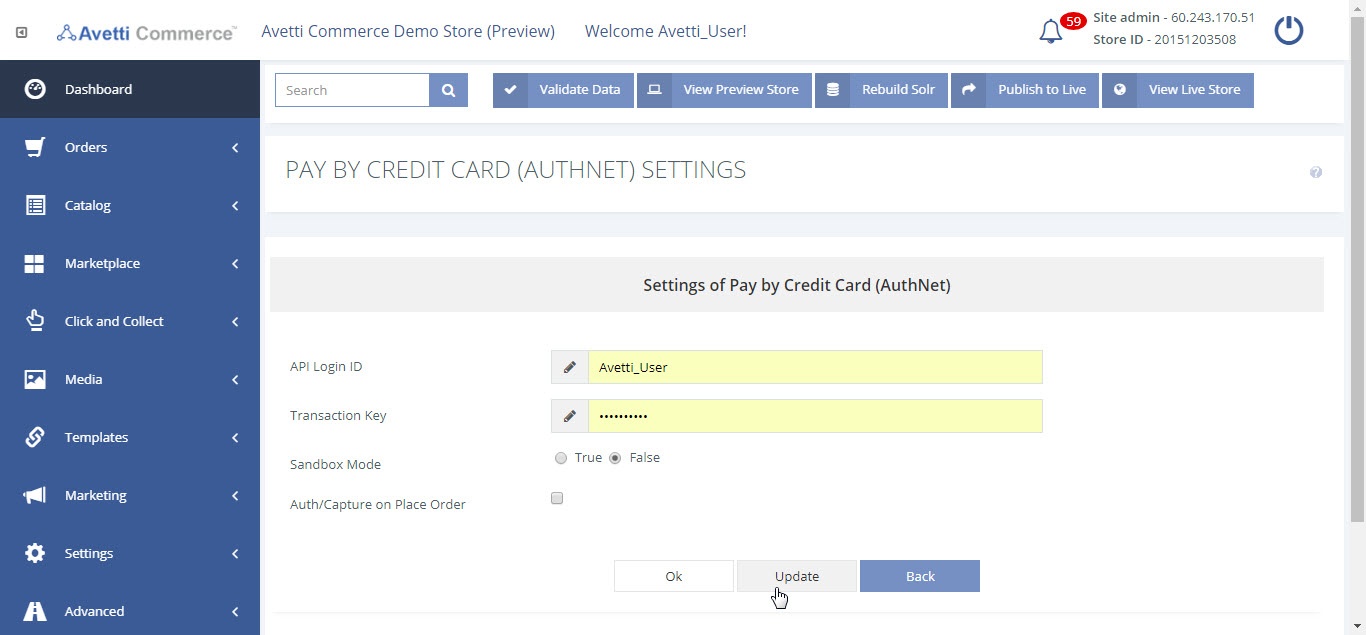
Authorize.net #
Authorize.net is yet another popular payment processor. Setup a payment gateway with this payment processor provided an Authorize.net account is available.
To use this payment processor,
- Select the processor from the payment processor drop down list on Add / Edit Payment Gateway page
- Once the payment gateway has been created, click edit link under settings on the Manage Payment Gateway page.
- Authorize.net has a sand box mode where test orders can be made. Enter the details. (Refer table 5)
- Click on save to save the changes.
| Field | Description |
|---|---|
| API Login ID | The ID of the account using the payment gateway from the company. |
| Transaction Key | The secret key used to access the payment gateway. |
| Sandbox Mode | Allows for testing purposes |
| Auth/Capture on Place Order | If checked, authorizes and captures immediately (when order is placed). If unchecked, only authorizes on place order. Capture happens when items are set to shipped. |
Remote Payment Gateway Service #
This option lets you call the payment service from a Remote Web Service.
- Select ‘Remote Payment Gateway Service’ processor on the Add/Edit Payment Gateway page.
- On the Manage Payment Gateway page, click Edit under settings next to this payment gateway and provide the web service URL.
- Enter the details (Refer table 6).
- Click on update and ok to save the changes.
| Field | Description |
|---|---|
| Service URL | URL used to connect with the payment service. |
| Auth/Capture on Place Order | Deploys the capture of the funds when using this payment gateway. |
No Processor #
This is a Payment Gateway Processor option that has been included so that you can collect the credit card information but won’t actually make a transaction with it. To use this option,
- Select No processor 1 or 2 as the Payment Gateway Processor on the Add / Edit Payment Gateway page. We have 2 of these to support 2 different currencies.
- Once the payment gateway has been created, click edit link under settings on the Manage Payment Gateway page.
- You will be redirected to a new page. On this page, if you set Always Fail to True, the system will check for the validity of credit card information provided. If it’s not valid or has insufficient balance, the customer will be notified immediately.
Pay by Non-Credit Card Methods #
This option has been included if the customer wishes to pay using a checking account or if they wish to pay on delivery or any other non credit card means.
- Select Pay by non-credit card methods as the Payment Gateway Processor.
- Select the option that says the shopper needs to enter data. Provide a suitable prompt such as ‘Check number’.
- Click Save to validate and save changes.