Also available in these formats:
Overview #
This feature allows registered customers or that register to see retailers that are within “X” miles radius of their location. The distance between the retailer and the shopper is determined by a call to the Google Maps API to calculate the longitude and latitude of the shopper. A similar call is done when a new retailer is added to the system.
Manage Item Properties #
To access the Order Preferences page,
- Click Settings.
- Click Order Preferences.
- After the Order Preferences are modified as required, use the Ok button to save the changes.

Implementation #
In this example, we will represent how to use Retailers feature. Let us go through the steps to implement this example.
Step 1: Get a Google Maps API key
The Google Maps API lets you embed Google Maps in your own web pages. A single Maps API key is valid for a single “directory” or domain. You must have a Google Account to get a Maps API key, and your API key will be connected to your Google Account. Check this page: http://code.google.com/apis/maps/signup.html
- Input your web URL to get your googleMapApiKey.
- Click the Generate button. Then you get the key. Now set it up in the right place. You may setup the key for each store.
- In Advance | Site Admin Preferences page, you can set the google key for the right store. The property name is called ‘Google Map API Key’.
Step 2: Add Manage Retailers menu link to the Store Menus
- Go to Sysadmin.
- Click Manage Admin Menus.
- Click Manage Submenu.
- Click Add.
- Click Add a submenu.
- Add it to the Catalog category.
Step 3: Add Retailers using the Manage Retailers Page
- Click the Catalog.
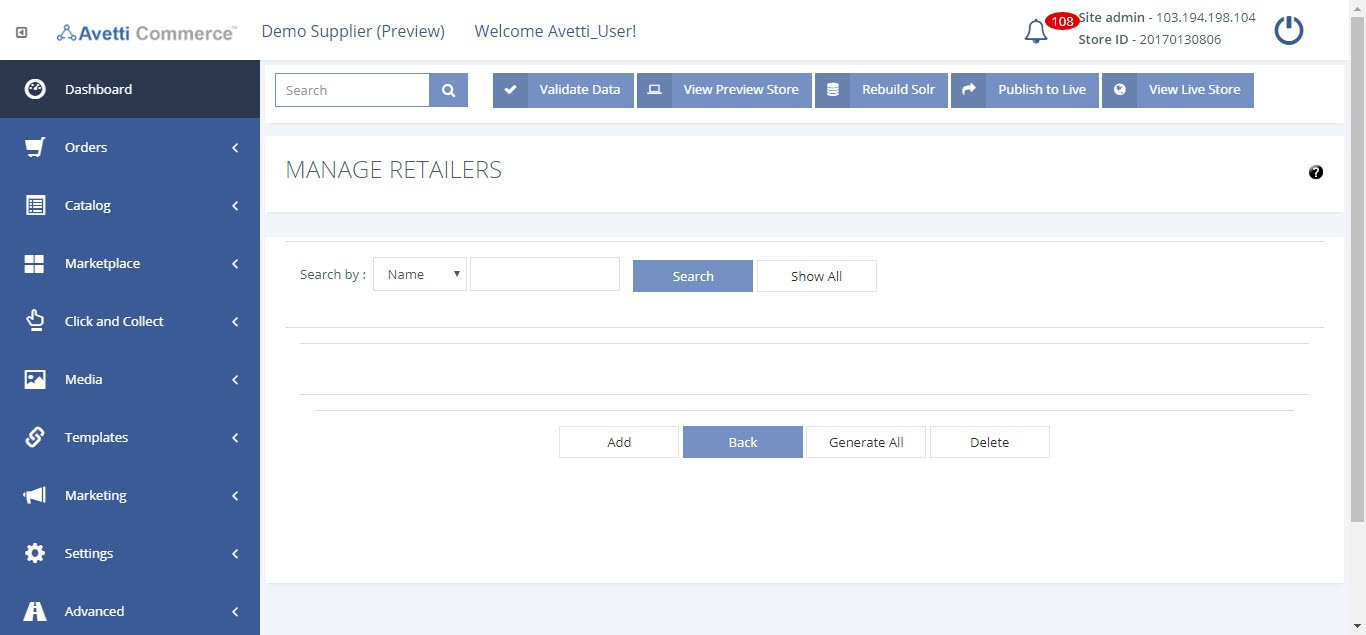
- Click Manage Retailers link.
- Click Add to define retailers for this store.
- Click OK or Apply to save changes.
- Click the retailer’s name to edit retailer information.
| Field | Description |
|---|---|
| Name | This is a short descriptive name for the retailer. This information appears on your website. |
| Address | This is the address of the retailer. (optional) |
| Country | Which country the retailer is in. |
| Region | Which province or state the retailer is in |
| City | The city the retailer is in. (optional) |
| Zip/Postal Code | The zip/postal code of the retailer. (optional) |
| Phone | The Phone number of the retailer.(optional) |
| Logo Image URL | The link to an image url that could be local or on some remote site. The info entered will begin with ‘http://’ if it’s on remote site while begin with ‘/’ if it’s local.(optional) |
| Web Link | The web link of the retailer.(optional) |
| Description | Things like hours or operation or general info about the retailer. |
| Latitude/Longitude | These are generated from Google maps api to determine the position of retailer. Generate them by clicking the Generate Lat/Lng button.The Lat/Lng is generated from the address you entered. Country and Region are required. City, address and zip/postal code are optional. However If you input more information the generated coordinates are more exact. |
Step 4: Display Retailers on your Web Site
To display a list of retailers on your site add a link to this page: retailers.html?vid=%%vendorid%%
If the shopper is logged in, they can enter an address where they are located. If the shopper clicks Search the system will calculate the distance between the address and the retailers, and if the distance is less than the radius selected, the retailer will be shown on that page.