Overview #
This document provides the necessary steps to create a new item option and attach it to a product.
Product / Item Options can be used to allow a customer to customize their item. They may wish to choose a different colour or size of product and, upon changing details, the page will be updated with the item of the customer’s choice. Example: The store may offer a shirt that comes in different sizes (XS, S, M, L, XL). These sizes are Product Options, and they can be configured in many different ways.
SKU-enabled items require a unique item for each of the different Product Option combinations available but allow for different prices, inventory, images and titles. Items that are not SKU-enabled will instead have a suffix added to the Item Code. Note that Product Options differ from Product Properties, as these are values the customer will be able to change.
Creating a Item Options #
To create a Item Options #
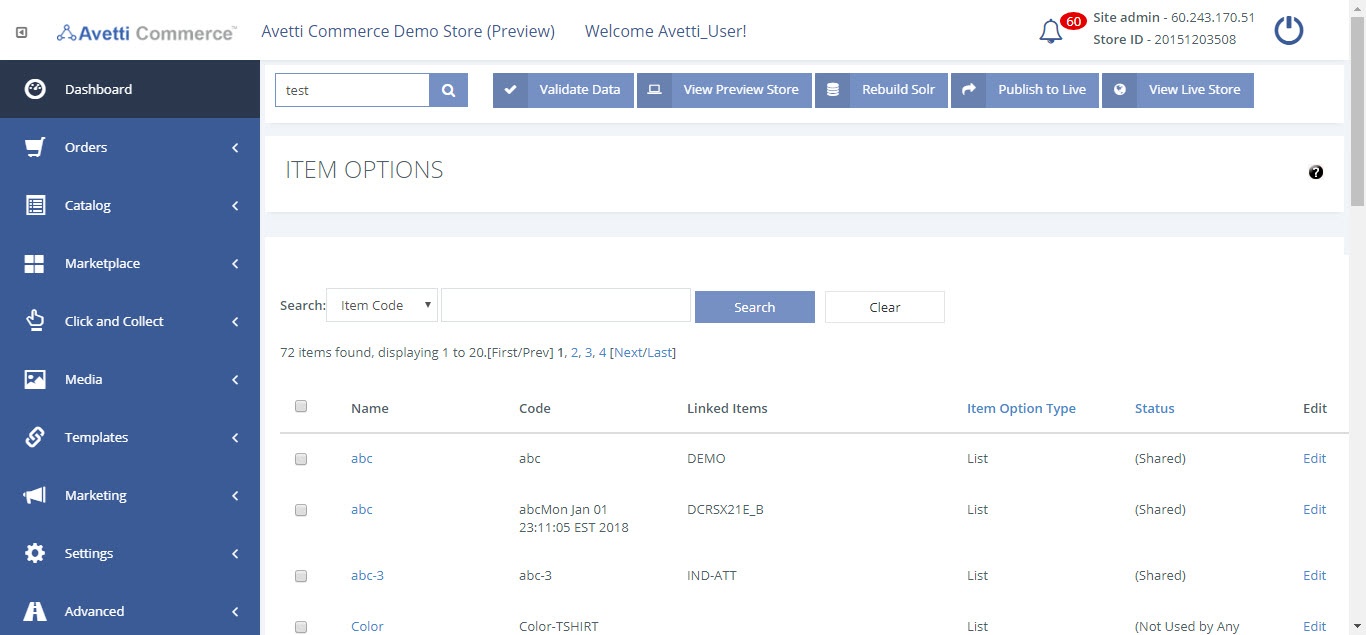
- Access the Item Options page located under Catalog
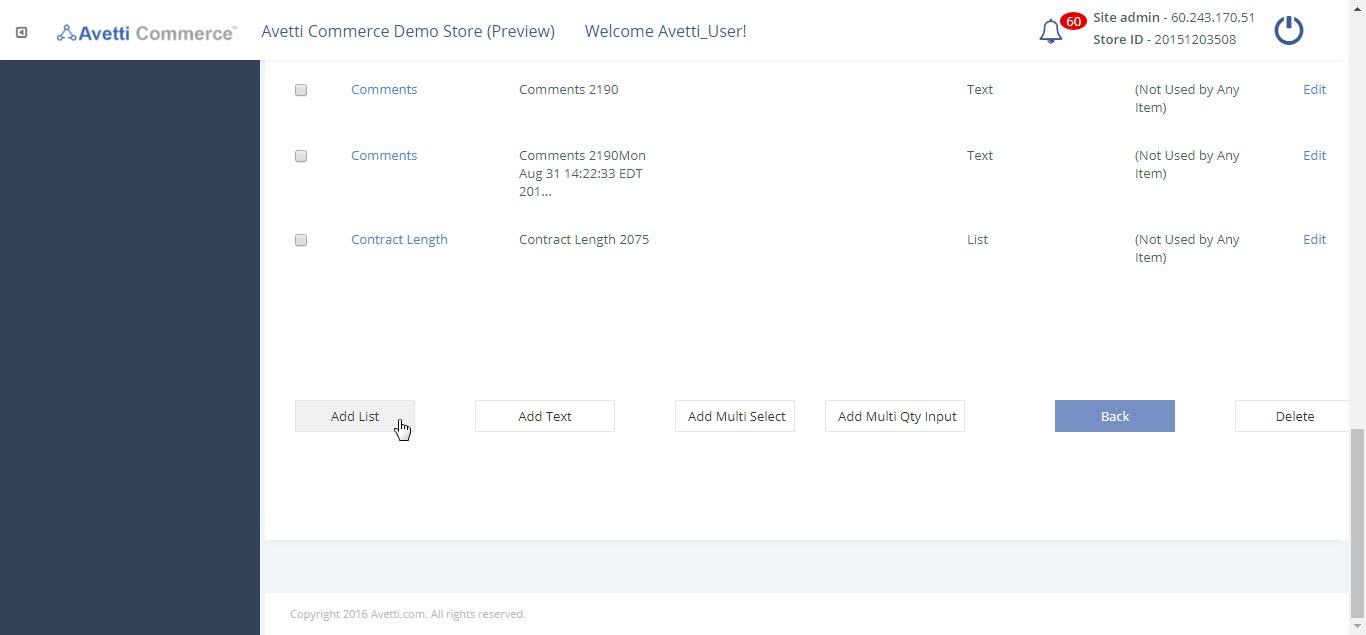
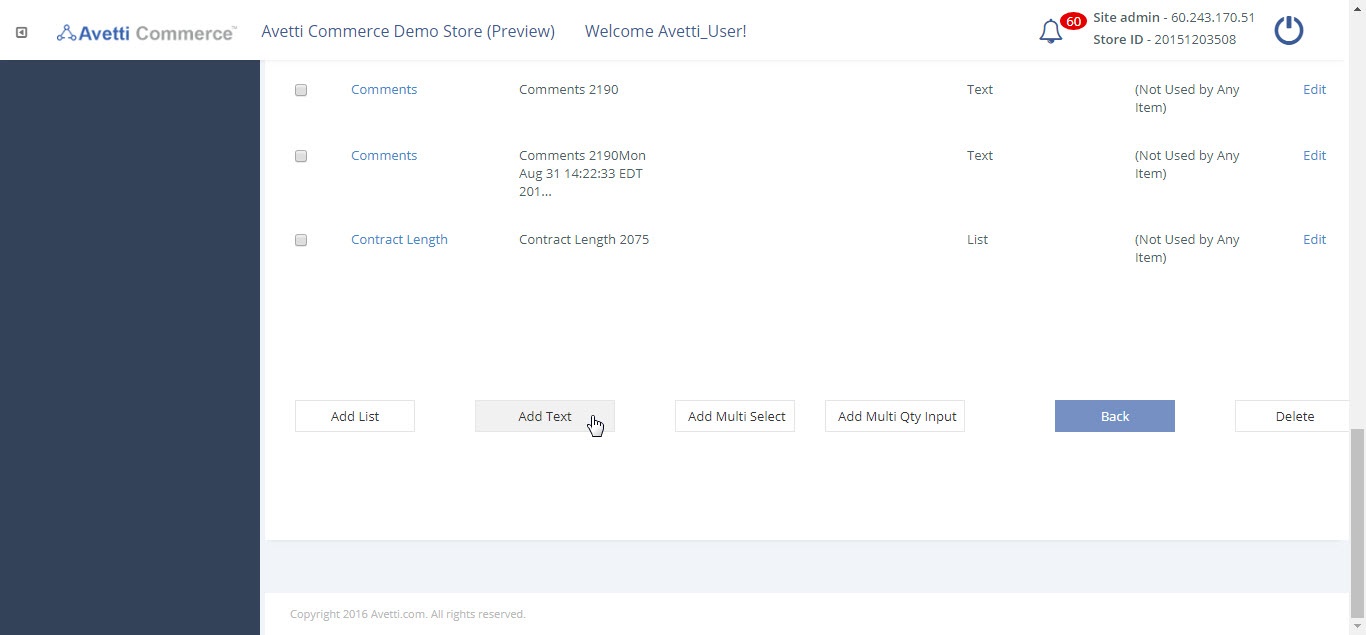
- Select one of the two types of Item Options by clicking the corresponding button (List or Text).
- List: Great for selecting one option from a predefined list. Use this Product Option type for options like size or color.
- Text: Useful for allowing the customer to personalize their item to a greater detail. An example item that may use this is a sweater that allows the customer to enter their name on the item, or a ring which they can engrave a name or phrase into.
- If an item has sizes and colors, it may be ideal to use drop-down lists or radio buttons so one selection can be made for the size and for the color, instead of having each size/color combination.
Example: A customer wishes to buy a blue golf shirt with a size of medium. With product options, the customer can pick the color and size, while the price and picture of the item reflects the changes that the customer made. Assuming this item isn’t SKU-enabled, the item may have an Item Code of GS.MB (Golf Shirt Medium Blue).
Note
Item Options can be applied to more than one item, and one item can have multiple Product Options.


Item Options Fields #

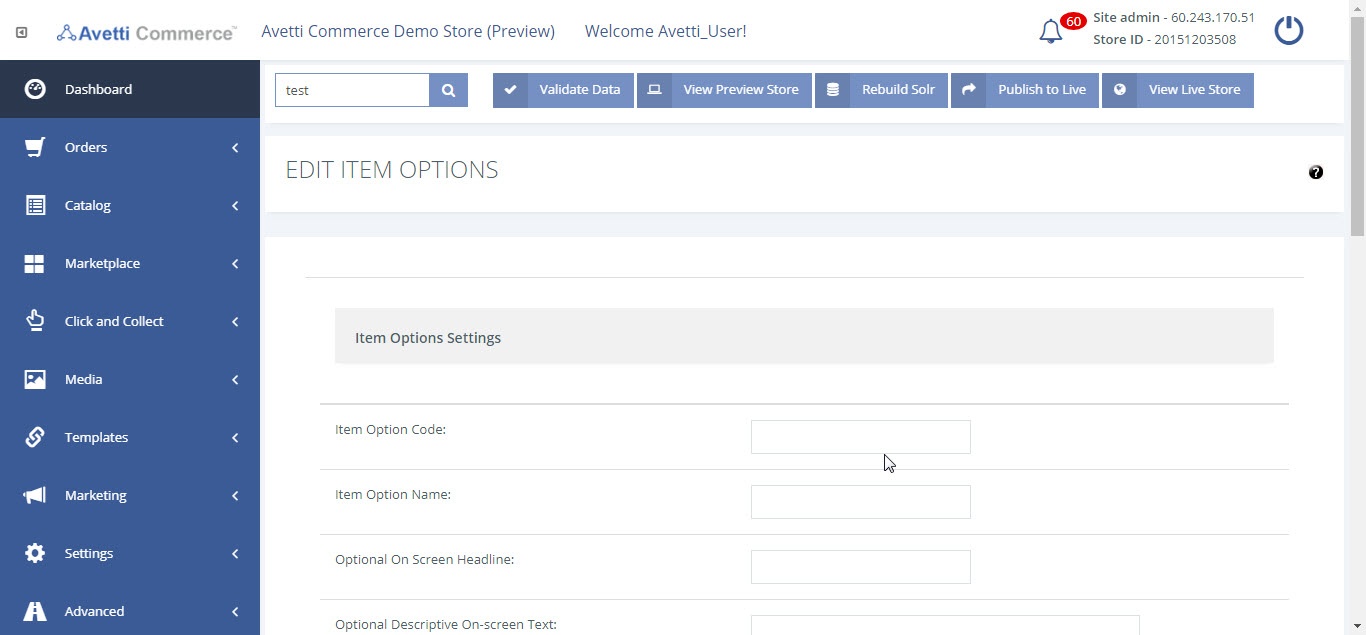
The following chart describes the different fields / options for each Item Option type:
Legend: L = List T = Text
| L, T | Item Options Code: Specify a unique code of the Product Option used for admin purposes. |
| L, T | Item Options Name: Enter a brief description of the Product Option, such as “Color”. This is the title / description that the customer will see on the Shopping Cart after they have made their selection. |
| L | Optional on Screen Headline: This is the title / description that the customer sees on the basket page after they have made their selection. |
| L, T | Optional Descriptive On-screen Text: This is the title / description that the customer sees when they select the option on the item’s store page. |
| L | Track Inventory: When the customer chooses an option, text will appear displaying the number of units available with that Product Option. This will only function as long as there is an existing Inventory for the item and Hide Available Inventory from Shopper is unchecked (refer to the Inventory guide). |
| L | SKU Enabled: This Option defines a SKU that Resolves to another Product. If the item is SKU-enabled, ensure this option is checked. If it is unchecked, instead of resolving to a SKU, the item will simply add a suffix to the Item Code depending on what Item Options are selected. The SKU is configured in the parent item. |
| T | Text Area Height & Text Area Width: The default size of the Product Options textbox that appears under Add to Cart on the item’s store page. The customer can adjust the size of the textbox on their own |
| T | Default Value: The default text which will appear in the Product Options textbox upon the item’s store page load. In most cases leave this blank because the customer has full control of what should be in there. However, if the product has a Liquid Pixel Item Image Template for this item, have a default setting which will allow the customer to understand that the item and this textbox are linked. |
| T | Change Price: Change price is a text field that will allow the user to enter a value in their currency. The amount in this textbox will be added to the customer’s basket. Typically, this will be used for donations. When the customer checks out, the amount they added in this text field will be added to the price of the item. The value entered in by the customer is affected by discounts. If the customer enters a negative number, the value will still be taken in as a positive value. |
| L | Format: Select the format for which the Product Options will appear. Radio buttons show the customer all of the options at once, but it can take up a large amount of space the more options are added. Drop down Lists are better for items with several Product Options because only 1 option is shown at a time. On the other hand, the Color format will displayed a box with the specific color on the Item Description page. Refer to Color Item List Options below to see the example. |
| L | Switch Image: The image will change when the customer selects a different Product Option. |
| L | Ignore for Minimum Order quantity calculation: If an item is set to have a minimum order quantity (shopper can’t add to cart less items than the specified amount), checking Ignore for Minimum Order quantity calculation will not count different options as different products.Example: Suppose the store has a Shirt with Color and Size options. The parent is set to have a minimum order of 10 shirts. If we check “Ignore for Minimum Order quantity calculation” for all color options, then no matter what color the shopper selects, it will count towards the minimum quantity. So if the user selects 4 blue shirts, 3 green shirts and 3 red shirts, all of the SAME SIZE, then it passes the minimum quantity check. But if from these 10 shirts 9 are large and 1 is medium, then it won’t pass the check because the size option is not set to ignore quantity for the child items. |
| L | Ignore for Quantity based pricing calculation: Consider the same example used for Ignore for Minimum Order quantity calculation. For quantity based pricing, if the price break starts at, for example, quantity 10 (as setup for all child items), shopper gets a price break as soon as 10 shirts are added to the basket, no matter what colors were selected. |
| L | List options: These are the options that the customer will see and choose.Click on edit at the end of the edit page.Click product option.Click on edit corresponding to respective Item.Enter the details.Click on save. |
Note:
There is an example button to show an example Item Option. This will replace all of the current options entered, so do not click this if options entered are to be kept on the page.