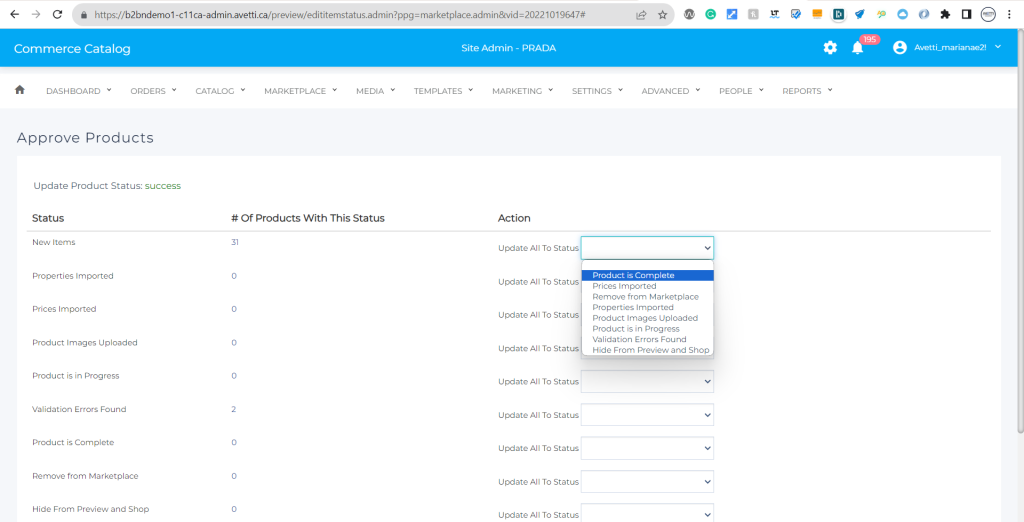
In this guide, we will illustrate each step using the following instance and stores:
https://b2bndemo1-c11ca-admin.avetti.ca/preview/listvendors.admin
- Supplier: Prada (20221019647)
- Supplier Marketplace: Not existent
- Main Marketplace: Theme1 Marketplace( 20221017620)
In this marketplace, currently, the supplier’s store shares the basket with other suppliers in the marketplace. When orders are placed, payment transactions are initially sent to the main marketplace and then divided among the products for each supplier. The main marketplace admin is responsible for disbursing payments to suppliers based on pre-established arrangements.
Alternatively, the supplier has the option to choose a separate checkout within the marketplace. This means that orders will not be processed directly in the main marketplace, but will instead be directed to the supplier’s sales channel, where they can set up their own payment methods and emails. This allows the supplier to manage transactions independently without the need for involvement from the main marketplace.
Let’s start by following these steps:
Step 1. Confirm whether the supplier has a designated supplier marketplace. Typically, the supplier marketplace shares the same name as the supplier and is located within the Sales Channel.
In this case, the supplier marketplace is not existent.
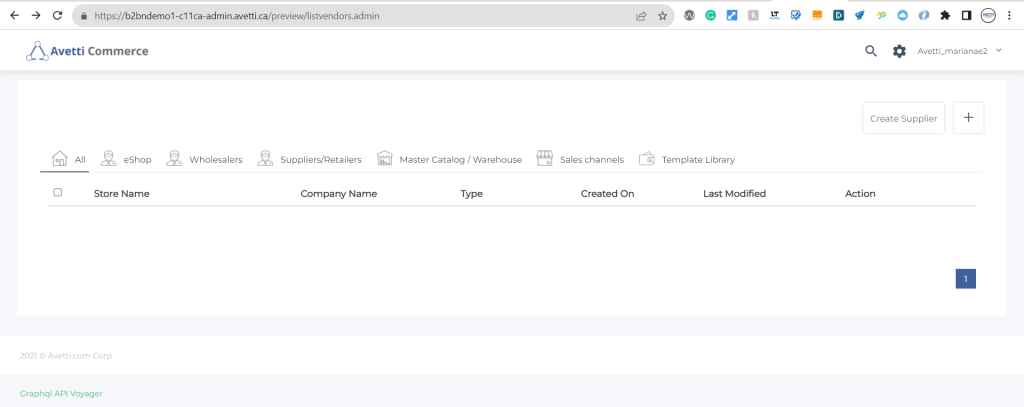
Step 2. If the supplier marketplace is not present, it must be created by copying the DEFAULT RETAIL MARKETPLACE.
To identify the default retail marketplace, please visit the following page. https://b2bndemo1-c11ca-admin.avetti.ca/preview/syspreferences.admin
To copy the store, from the list vendor page, click on the Gear icon in the header, and proceed to the “Import/Export/Copy Store” option.
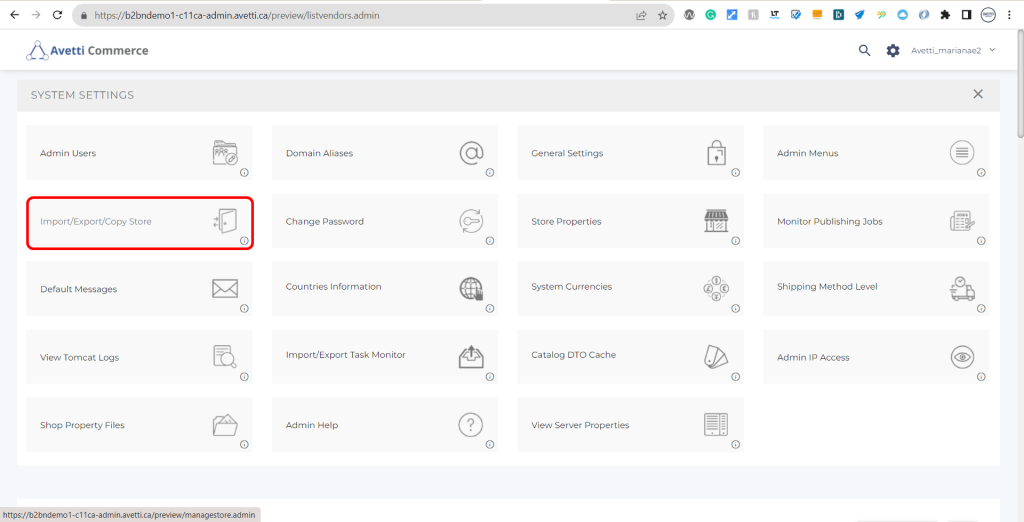
In this case, we will use these parameters:
- Default Retail Marketplace: 20220819213
- NEW Supplier Marketplace: PRADA SUPPLIER MARKETPLACE(20231114511)
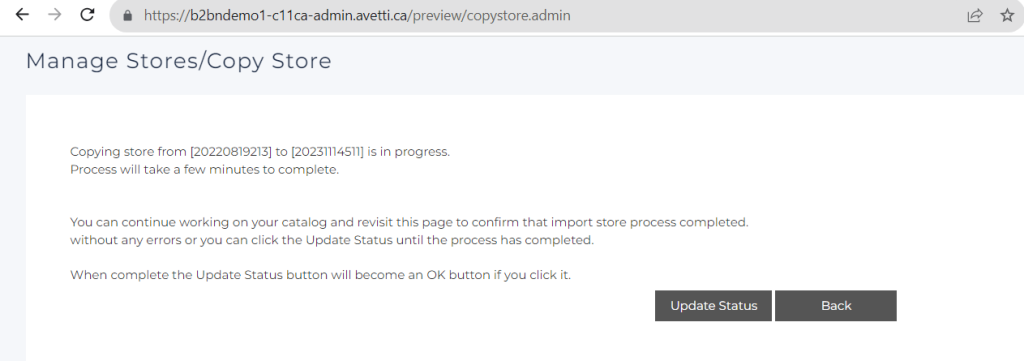
Step 3. After the store is copied, add the new supplier marketplace VID in the store settings of the supplier store.
- Supplier: Prada (20221019647)
- SUPPLIER MARKETPLACE(20231114511)
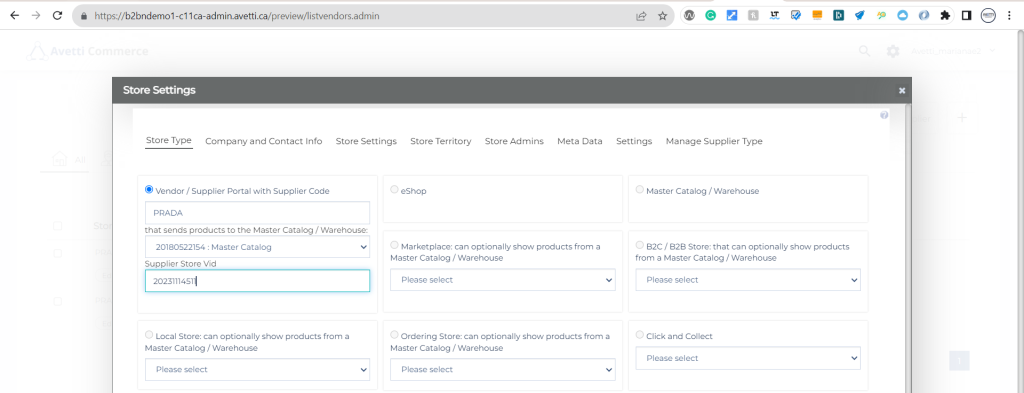
Step 4. Open the new supplier marketplace store and review the properties of the store under Settings | Store Properties
- SUPPLIER MARKETPLACE(20231114511)
Verify these properties are set correctly:
- is_main_marketplace = FALSE
- Is_Supplier_Marketplace = TRUE
- Auto_Replicate_Order_To_Supplier = TRUE
- Enable_Sharing_Customer = TRUE
- Main_Marketplace_Store_Id = 20221017620
- SHARE_FROM_MCW = {MCW store}
- TEMPLATELIBRARYVID = {Marketplace Library VID} 20210810363
- TWITTER.EnableLogin = No
- FACEBOOK.EnableLogin = No
- AUTO_VENDOR_PUBLISH_DELAYED_MINUTE = 2
- AUTO_VENDOR_PUBLISH_ENABLED = TRUE
- GoogleMapApiKey = {Google key}
- Google_SSO_Client_ID = {Google Client ID}
- DefaultCategoryImagePath= /20180522154/assets/category/images/
- DefaultCategoryThumbnailImagePath=/20180522154/assets/category/thumbnails/
- DefaultItemImagePath=/20180522154/assets/items/images/
- DefaultItemLargeImagePath=/20180522154/assets/items/largeimages/
- DefaultItemSmallImagePath=/20180522154/assets/items/small/
- DefaultItemThumbnailImagePath=/20180522154/assets/items/thumbnails/
Step 5. Don’t forget to include the main marketplace store in the properties of the SUPPLIER MARKETPLACE STORE.
- is_main_marketplace=FALSE
- Is_Supplier_Marketplace=TRUE
Step 6. Enable the supplier as a distributor in the SUPPLIER MARKETPLACE
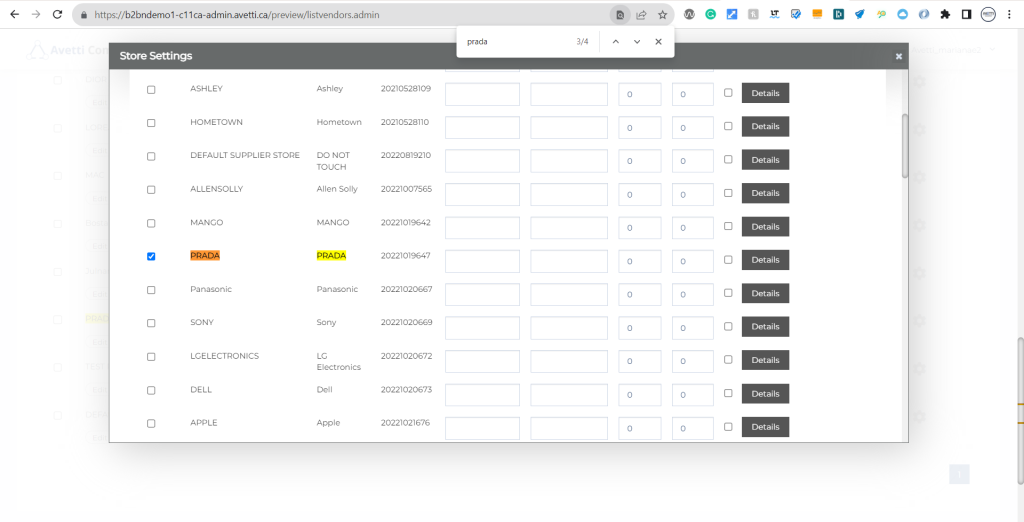
Step 7. Navigate to the supplier store and force the copy of all the products by temporarily changing their status to “new,” and then revert the status back to “complete”. You can do this by going to Marketplace | Approve Producst admin page.
- Supplier: Prada (20221019647)
